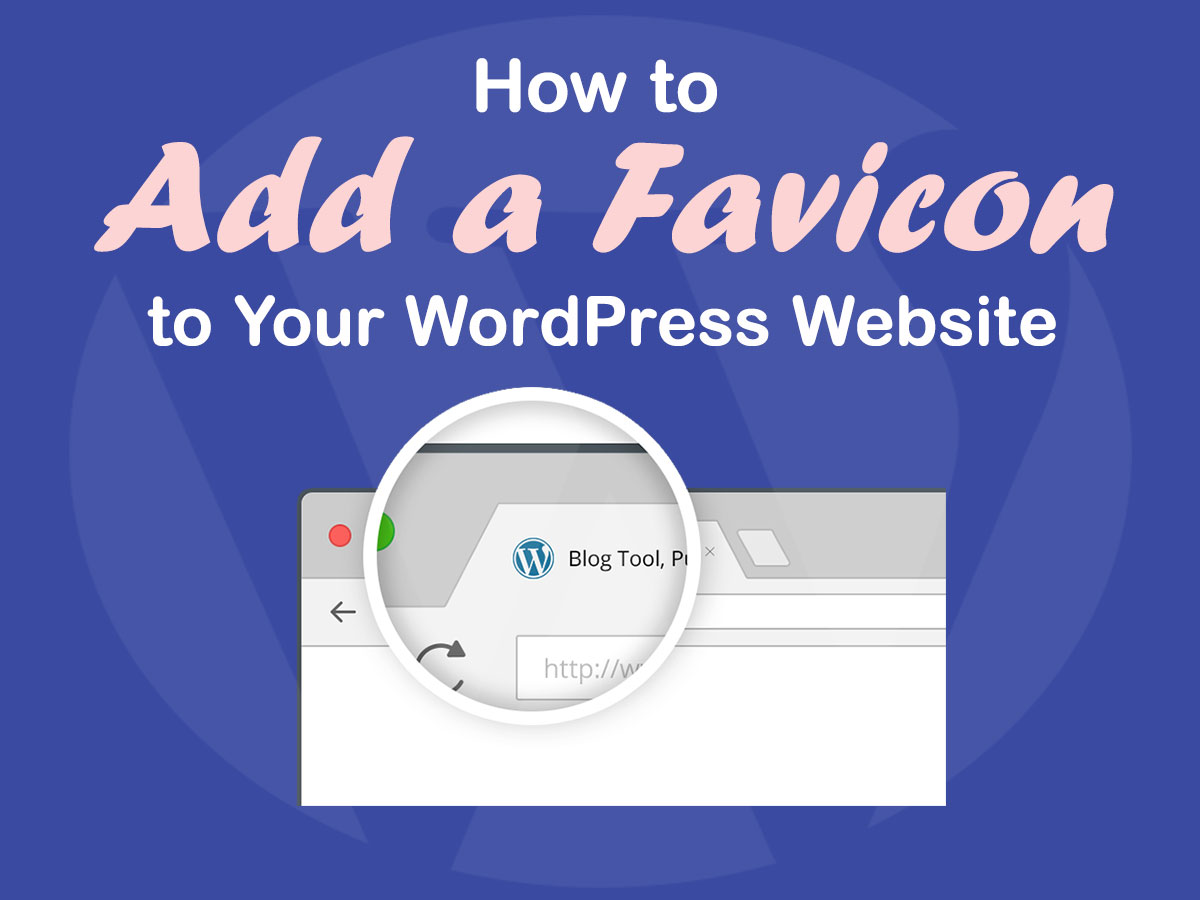
How to Add a Favicon A Simple Guide
How to add a favicon? It sounds technical, but trust me, it’s way easier than you think! That tiny little icon next to your website’s title in a browser tab? That’s a favicon, and it’s surprisingly impactful. A well-designed favicon instantly boosts your brand recognition, making your site more memorable and professional. Think of it as your website’s miniature logo, a constant visual reminder to users, even when they’re not directly on your site.
Let’s dive into how to create and add this crucial element to your online presence!
We’ll cover everything from choosing the right file format (ICO, PNG are popular choices) to the simple HTML code you need to embed it. We’ll even tackle troubleshooting those pesky display issues and explore some advanced techniques for creating truly stand-out favicons. Get ready to level up your website’s visual appeal!
Understanding Favicons
Favicons, short for “favorites icons,” are those tiny little images you see next to website titles in browser tabs, bookmarks, and even in search engine results. They’re much more than just cute decorations; they play a vital role in website branding and user experience. A well-chosen favicon can significantly enhance your website’s memorability and professionalism.Favicons serve the crucial purpose of visually identifying your website among a multitude of open tabs or bookmarks.
They provide a quick and easy way for users to distinguish your site from others, improving navigation and overall user experience. Think of it as a miniature logo, constantly reminding users of your brand even when they’re not directly on your website. A strong favicon can make a significant difference in a user’s ability to quickly locate and return to your site.
Favicon File Formats
Choosing the right file format for your favicon is important for compatibility and optimal display across different browsers and devices. While several formats exist, some are more widely supported and offer better compression than others.
- ICO (Icon): This is the most common and widely supported format for favicons. ICO files can contain multiple image sizes, ensuring compatibility across various platforms and resolutions. This makes it a versatile and reliable choice for most websites.
- PNG (Portable Network Graphics): PNG is a popular raster graphics format known for its lossless compression, resulting in crisp and clear images. While not as universally supported as ICO for favicons, many browsers handle PNGs without issues. The advantage lies in its ability to create visually appealing, high-quality favicons.
Impact of Favicon Design on Brand Recognition, How to add a favicon
A well-designed favicon contributes significantly to brand recognition and memorability. Imagine searching for “Starbucks” on Google; you’d instantly recognize the green siren logo even as a small favicon. This is the power of a strong visual identity carried through to even the smallest detail of your online presence.A memorable favicon can act as a visual shortcut in a user’s mind, associating the image directly with your brand and making it easier to recall and identify your website amidst the vast digital landscape.
Consistency in design across your favicon and other branding elements (logo, website design) reinforces your brand identity, creating a cohesive and professional image. A poorly designed or generic favicon, on the other hand, can be detrimental to brand recognition and might even leave a negative impression on users. For example, a blurry or pixelated favicon can communicate unprofessionalism and lack of attention to detail.
Creating a Favicon
Source: wpdaddy.com
So, you understandwhat* a favicon is and
why* you need one. Now let’s get down to the nitty-gritty
actually making one. Creating a favicon isn’t rocket science, but it does require a bit of image editing and some understanding of file formats. This guide will walk you through the process using readily available software and techniques.Creating a high-quality favicon involves several key steps, from initial design to final format conversion. These steps ensure your favicon is displayed correctly across different browsers and devices.
Image Editing and Resizing
Most image editing software can handle favicon creation. Whether you’re using Photoshop, GIMP (a free, open-source alternative), or even a simpler program like Paint.NET, the basic principles remain the same. Start by designing your favicon in a larger size (e.g., 512×512 pixels) to allow for easier editing and detail work. This larger canvas provides more flexibility for refining your design before resizing.
Remember that even though the final favicon will be much smaller, the detail in the larger version will translate to a crisper, higher-quality final product.After you’ve completed your design in the larger size, you’ll need to resize it. The ideal size for a favicon is 16×16 pixels, but it’s also beneficial to create versions in other sizes (like 32×32, 48×48, and 96×96 pixels) for optimal display across various devices and browsers.
Most image editors have a “resize” or “image size” function that allows you to specify the dimensions. When resizing, be sure to use a resampling method that maintains image quality, such as bicubic resampling. Avoid simple methods that can lead to pixelation or blurring.
Image Format Conversion
Once you have your resized favicon images, you need to save them in the correct format. The most widely supported and recommended format for favicons is ICO (Icon). This format can store multiple sizes of the same icon within a single file, ensuring compatibility across different browsers and operating systems. However, if you’re working with a simpler workflow, PNG is also a good choice.
Many image editors allow direct export to ICO format. If yours doesn’t, you can use online converters or dedicated tools. Remember that even if you use a PNG, you will still need multiple sizes for optimal browser compatibility. For instance, you might create a 16×16 PNG, a 32×32 PNG, and so on.
Adding a Favicon to an HTML File
So, you’ve created your awesome favicon – fantastic! Now, the crucial step: getting it to actually show up in browser tabs. This involves a simple yet powerful HTML tag, and understanding its nuances will ensure your favicon displays correctly across different browsers and devices. Let’s dive into how to seamlessly integrate your carefully crafted icon into your website.Adding a favicon to your website is straightforward, primarily involving the ` ` tag within the `
` section of your HTML document. This tag establishes a relationship between your HTML document and external resources, in this case, your favicon image. The correct implementation ensures browsers know where to find and display the icon. Failure to correctly implement this step will result in the default browser tab icon being displayed instead of your custom icon.Using the `` Tag
The ` ` tag is the key to adding your favicon. It uses the `rel` attribute to specify the relationship, which in this case is “icon”, and the `href` attribute to specify the location of your favicon file. The `href` attribute points to the path of your favicon file relative to the HTML file’s location. For example, if your favicon is named `favicon.ico` and is in the same directory as your HTML file, you would use `href=”favicon.ico”`.Here’s an example of a basic HTML file incorporating a favicon:“`html
“`In this example, the ` ` tag is placed within the `
` section. The `rel=”icon”` attribute tells the browser that this linked file is a favicon, and `href=”favicon.ico”` specifies the path to the favicon file. Remember to replace `”favicon.ico”` with the actual filename and path to your favicon if it’s different. Also, ensure the favicon file (`.ico` or other supported formats) is in the specified location.Comparing Favicon Linking Methods
Different methods exist for linking favicons, each with its own advantages. Using multiple sizes allows for optimal display across various devices and screen resolutions. Below is a table comparing some common methods.
| Method | Code Example | Description |
|---|---|---|
| Standard Link | |
Basic implementation, typically uses a .ico file. Suitable for simple setups. |
| Multiple Sizes | |
Supports various screen resolutions, providing a better user experience on high-resolution displays. Using PNG is common for flexibility. |
Favicon Best Practices
Creating and implementing a favicon seems simple, but overlooking crucial details can lead to a less-than-ideal user experience. This section focuses on common pitfalls and best practices to ensure your favicon enhances, rather than detracts from, your website’s presentation. We’ll cover common mistakes, optimization strategies, and helpful resources to streamline the process.
Many websites suffer from poorly implemented or altogether missing favicons. This not only diminishes the professional appearance of a site but can also impact indirectly by contributing to a less polished user experience. Proper favicon implementation is a small detail that makes a big difference.
Common Favicon Mistakes
Several common errors can prevent your favicon from displaying correctly or efficiently. Addressing these issues is crucial for a seamless user experience.
- Incorrect File Formats: Using unsupported formats (like .gif) or incorrectly named files (not `favicon.ico`) prevents browsers from recognizing your icon.
- Incorrect File Paths: Specifying an incorrect path to your favicon in the HTML code will prevent it from appearing. Double-check your file location and path.
- Ignoring Responsiveness: Failing to provide favicons in multiple sizes for different devices and screen resolutions leads to blurry or pixelated icons on some devices.
- Oversized Favicon Files: Large favicon files increase page load times, negatively impacting user experience and . Optimizing file size is crucial.
- Lack of Multiple Favicon Sizes: Browsers may choose a different favicon size based on the device and context. Providing a range of sizes ensures the best possible representation across various platforms.
Favicon File Size Optimization
Optimizing your favicon’s file size is essential for fast loading times. Smaller files translate to quicker page loads, contributing to a better user experience and improved .
Several strategies can reduce file size without compromising visual quality. Consider using lossy compression techniques for image formats like PNG or JPEG. For the `.ico` format, ensure you’re not including unnecessary images within the file if you are creating it from scratch. Tools such as TinyPNG or ImageOptim can significantly reduce file size without noticeable visual degradation. Remember that the `.ico` format itself is not inherently optimized; the image(s)
-within* the file need to be optimized.
Always aim for a file size under 10KB. Larger files can significantly impact page load times, especially on slower connections.
Resources for Favicon Creation and Management
Several online tools and resources simplify favicon creation and management. These resources offer various features, from generating multiple sizes to optimizing file size.
- Online Favicon Generators: Many websites provide free favicon generators. These tools typically allow you to upload an image and automatically generate favicons in various sizes and formats. Examples include RealFaviconGenerator and Favicon.io.
- Image Editing Software: Programs like Adobe Photoshop or GIMP allow for precise control over favicon creation and optimization. These tools offer advanced features for image manipulation and file size reduction.
- Icon Fonts: Using icon fonts can offer scalability and flexibility for favicon design. Font Awesome and other icon font libraries provide a vast selection of icons.
Troubleshooting Favicon Issues
So, you’ve meticulously crafted your favicon, correctly implemented the code, and yet… nothing. Your carefully designed icon isn’t showing up in your browser’s tab. Don’t despair! Favicon problems are surprisingly common, and often stem from simple, easily fixable issues. Let’s dive into some common troubleshooting steps.
Browser Caching
Browser caching is a double-edged sword. It speeds up browsing by storing frequently accessed files locally, but it can also prevent your updated favicon from displaying. When you change your favicon, browsers might stubbornly cling to the old version from their cache. This is especially true for users who rarely clear their browser’s cache. To force browsers to refresh, users can try several methods.
They can clear their browser’s cache and cookies entirely, or simply hard-refresh the page (typically by holding down Ctrl+Shift+R on Windows or Cmd+Shift+R on macOS). Another effective technique is to add a query parameter to the favicon’s URL, such as `?v=2`, incrementing the version number each time you update the favicon. This tricks the browser into thinking it’s a new file.
Incorrect File Path or Name
Double-check the path to your favicon file in your HTML code. A simple typo in the file name or path can prevent it from loading. Ensure the path is accurate relative to your HTML file’s location. For example, if your favicon is in the same directory as your HTML file, the path should simply be the file name (e.g., `favicon.ico`).
If it’s in a subdirectory called “images,” the path would be `images/favicon.ico`. Also, verify that the file name itself is correct and matches exactly what’s in your HTML.
Multiple Favicon Links
Having multiple ` ` tags pointing to different favicons in your HTML can lead to conflicts. Browsers may prioritize one link over others, potentially ignoring your preferred favicon. The best practice is to use only one ` ` tag with the correct attributes and file path, and ensure it’s properly formatted. Remove any redundant or conflicting links.
Incorrect File Type or Format
Favicons typically use the `.ico` format, but other formats like `.png` can also work. However, ensure the format you’re using is correctly specified in the ` ` tag’s `rel` and `type` attributes. For instance, using a `.png` would require `type=”image/png”`. An incorrectly specified type might lead to the browser not recognizing your favicon. If using a `.ico` file, verify it’s a properly formatted ICO file, as improperly created ICO files can fail to render.
Browser Compatibility
While most modern browsers support favicons without issues, some older or less common browsers might have limitations. While unlikely to be a widespread problem, it’s worth considering if you are experiencing issues only in a specific browser. Testing across various browsers (Chrome, Firefox, Safari, Edge) is always a good idea to identify any browser-specific compatibility problems. If compatibility is an issue, consider using a favicon generator that offers multiple formats for broader support.
Server-Side Issues
If you’re hosting your website, server-side issues might prevent the favicon from loading. This could involve problems with the server’s configuration, incorrect file permissions, or the favicon file not being accessible. If all else fails, consult your web hosting provider’s support to rule out any server-side issues preventing the favicon from being served correctly.
Advanced Favicon Techniques
Taking your favicon game to the next level involves understanding and implementing more sophisticated techniques beyond simply adding a single image. This allows for a more polished and responsive user experience across different devices and browsers. We’ll explore techniques to optimize favicon display and create a more dynamic brand identity.
Multiple Favicon Sizes for Responsive Design
Different devices have varying screen resolutions and pixel densities. Providing multiple sizes of your favicon ensures optimal display on everything from low-resolution mobile devices to high-resolution desktop monitors. A small favicon might look blurry on a high-resolution screen, while a large one could be unnecessarily resource-intensive on a low-resolution screen. Therefore, offering a range of sizes, from 16×16 pixels to 192×192 pixels or even larger, is crucial for a consistent and sharp visual representation across all platforms.
This involves creating multiple favicon files and referencing them appropriately within your HTML ` ` tags. For instance, you might include links for 16×16, 32×32, 48×48, and 192×192 pixel favicons.
Animated Favicons
Animated favicons add a touch of dynamism and can help your website stand out. These aren’t simple GIFs; they’re usually created using formats like APNG (Animated Portable Network Graphics) or WebP (with animation support). While offering a visually engaging experience, it’s essential to consider the file size and complexity of the animation. An overly large or complex animation can negatively impact page load times.
A simple, subtle animation is generally preferred to avoid distracting users. The implementation involves specifying the animated favicon file in your HTML ` ` tag, much like a static favicon, ensuring browser compatibility is checked beforehand. For example, you would use the same ` ` tag structure, but point it to your animated .apng or .webp file.
Thematic Favicon Adaptation
Creating a favicon that adapts to your website’s theme offers a truly dynamic experience. This involves designing multiple favicons that reflect different states or aspects of your website, such as changing colors based on the current page, or reflecting a light/dark mode. While more complex to implement, it can greatly enhance user engagement and visual consistency. This technique might require some JavaScript or server-side scripting to dynamically change the favicon based on certain conditions, such as user preferences or the current page’s content.
For example, a news website could change the favicon color to reflect the urgency of breaking news, while an e-commerce site might change the favicon to reflect a sale. This requires careful planning and coordination with your website’s overall design and functionality.
Favicon and Website Design

Source: roboleary.net
Your favicon is more than just a tiny icon; it’s a crucial element of your website’s branding and visual identity. A well-designed favicon reinforces your brand, making your site instantly recognizable amongst a sea of browser tabs. Conversely, a poorly designed favicon can leave a negative impression and even damage your brand’s credibility. It’s a small detail, but it speaks volumes about your attention to detail and overall professionalism.A successful favicon seamlessly integrates with your website’s overall design language.
It should share consistent color palettes, typography styles (where applicable), and imagery with your logo and other branding elements. This consistency creates a cohesive brand experience, reinforcing recognition and trust with your users. Think of it as a miniature version of your brand’s promise, a visual shorthand that immediately communicates your essence.
Effective and Ineffective Favicon Designs
Effective favicons are simple, memorable, and relevant to the website’s content. They often utilize a simplified version of the company logo or a distinctive symbol that immediately conveys the brand’s core identity. Ineffective favicons, on the other hand, are often cluttered, low-resolution, or irrelevant to the brand, leading to confusion and a lack of memorability. For instance, a complex, overly detailed image might look good in large format, but when shrunk down to favicon size, it becomes pixelated and unrecognizable.
Conversely, a generic or poorly executed icon fails to communicate anything meaningful about the website.
Example of a Well-Designed Favicon
Imagine a favicon for a fictional sustainable coffee company called “Bean There, Brewed That.” The favicon is a circular icon. The background is a soft, earthy green, representing sustainability and nature. A stylized coffee bean, subtly textured to evoke the feeling of roasted beans, is centrally placed in a warm brown hue. The bean itself is slightly curved, giving it a friendly, approachable feel.
The overall aesthetic is clean, minimalist, and evokes feelings of warmth, quality, and environmental consciousness—perfectly reflecting the brand’s values and the type of experience users can expect on the website. The simplicity allows it to be easily recognizable even at a small size, ensuring brand consistency across all platforms.
Conclusive Thoughts
Adding a favicon is a small step, but it makes a big difference! By following these simple steps, you’ve taken your website’s professionalism to the next level. Remember, a well-designed favicon is more than just a pretty picture; it’s a key element of your brand identity. So go forth and create a favicon that perfectly represents your website and leaves a lasting impression on your visitors.
And if you encounter any snags along the way, don’t hesitate to check out the FAQs below for quick solutions!
FAQ Guide: How To Add A Favicon
What if my favicon isn’t showing up?
Check your code for typos, ensure the file path is correct, and clear your browser cache. Sometimes, browser caching can prevent updates from displaying.
Can I use a GIF as a favicon?
While technically possible, it’s generally not recommended. Most browsers don’t support animated GIFs as favicons, and it can lead to compatibility issues.
What are the ideal dimensions for a favicon?
While there’s no single perfect size, aiming for multiple sizes (16×16, 32×32, etc.) ensures compatibility across different devices and browsers.
Where can I find free favicon generators?
Many free online tools can help you create favicons. A quick Google search for “free favicon generator” will yield plenty of options.