Posted inSEO and Search Marketing
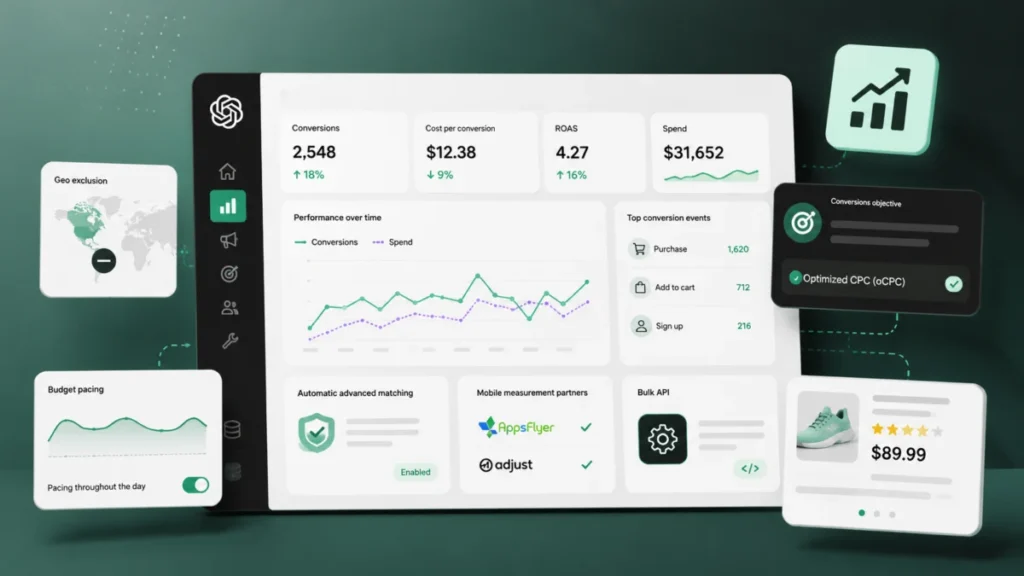
ChatGPT Ads Launches Suite of Advanced Tools for Smart Bidding Measurement and Global Campaign Management
The digital advertising landscape is undergoing a significant transformation as OpenAI’s ChatGPT Ads platform announces a comprehensive suite of new advertiser tools designed to bridge the gap between emerging AI-native…